
|
How to Make a DIY Epoxy Resin River Table
Supplies Piece of wood, cut down to size Pieces of Acrylic Clamps Masking tape Nitrile Gloves Orbital Sander Sand Paper in grits 60, 100, 150,220, 320, 420 Hairpin Legs Wood Screws Handheld Torch or Heat Gun Disposable cups and paint sticks Planer Circular Saw Table Saw Router Epoxy (we typically use liquid glass or eco-poxy) The most important thing is that the wood you want to use is seasoned or kiln dried. Saw it: The wood is cut lengthwise in half with a circular saw. If you do not have a circular saw, have a professional do this. Both pieces of wood must be cut to exactly the same length. This is also done with a circular saw, table saw, or track saw. Planing: With a planer you make sure that the two wooden pieces have an even thickness and are absolutely flat. After we plane the wood we sand it down to 120 and if desired, use a router to roundover the table edges. We did this on our table but its an optional step. Now its time to build your mould. We use melamine boards. Build them to the size of table you are looking to create and then wrap the melamine with house wrap tape, or use a mold release. This is important as cured epoxy basically adheres to everything. Clean your boards, and wipe them with mineral spirits and lay them into position in the mould. You will need to secure them with screw or clamps. This will keep them from floating in the epoxy. If you have edges where bark was removed you will need to brush on epoxy to those areas, and knot holes and let them cure over night. Once cured, sand those areas back down to 220 grit. This will keep the wood from off-gassing or releasing air bubbles into your finished piece. Your wood is prepped, edges sealed, clamped down in the mould, and you are ready to pour your "river" Make sure your table is LEVEL, epoxy is thin, thick pour epoxy (2-4 inches) is engineered as thin as water. If your form is not sealed it will literally go everywhere. Once leveled, calculate the amount of epoxy you need, and decide whether you want to color it or not. Color is usually a mica powder or liquid. For our table we used black diamond "cobalt blue" and believe me a little bit of this stuff goes a Loooooong way. Calculating your epoxy is achieved by taking the length of the river times the avg. width times the avg. depth. Epoxy is expensive and calculating the volume is essential. LxAvg.WidthxAvg.Depth=volume of Epoxy Mix your resin according to the label of what you are using try to not introduce air into the mixture. After mixing, i like to let it sit in the mixing bucket for a few minutes to release any bubbles and then pour into the mould. Once mixed, POUR IT. pour your resin in and spread it around, or use a paint stick to create swirls or patterns(if you chose to use color) Let it rest for a few minutes and then use a heat gun or torch, making quick passes over the resin, to release air bubbles and leave your piece with a crystal clear, smooth finish. You can do this 3 to 5 times over the next 30 minutes but i wouldn't recommend any more than that. Thats it! Walk away and wait. 3-6 days later you can remove your top from the mould. Take the table out of the mould Loosen any screws on the mould and remove the clamps. Separate the mould from the cast tabletop using a plastic hammer and chisel. Carry out this step carefully so that your tabletop is not damaged. After you have removed the table from the mould, it is time to sand the tabletop. The easiest way is with a grinder, or orbital sander. You can also do this by hand, the important thing is that no resin is visible on the wood. Start with 80 grit and sand to 400 grit. (it will take you all your life to sand this by hand) You can also perfectly smooth the edges of your tabletop with a router before sanding or, trim and plane them again with a circular saw. For our larger pieces we use a router sled and take 1/16 of material off at a time until we reach the desired thickness. Then we sand, and sand, and sand until it is perfect. If you plan on finishing with a "flood coat" of epoxy then you only need to sand down to 220 across the entire piece. we like to go to 320 for good measure. This is what we did on this table. Be prepared to use multiple sheets of sandpaper to achieve perfection. If you are going to finish with a wax type of finish, We like Rubio MonoCoat, sand down to at least 400 grit before applying your final coat of wax, Let it dry, lightly buff it and your table will look great and have protection for years. All thats left is to build or attach your legs, assemble, and enjoy in any area of your home. Feel free to reach out to us with any questions if you plan to build a table yourself or check out the store where you can have a table built for you and have it customized however you want it. HAVE FUN! come back and visit for more DIY. 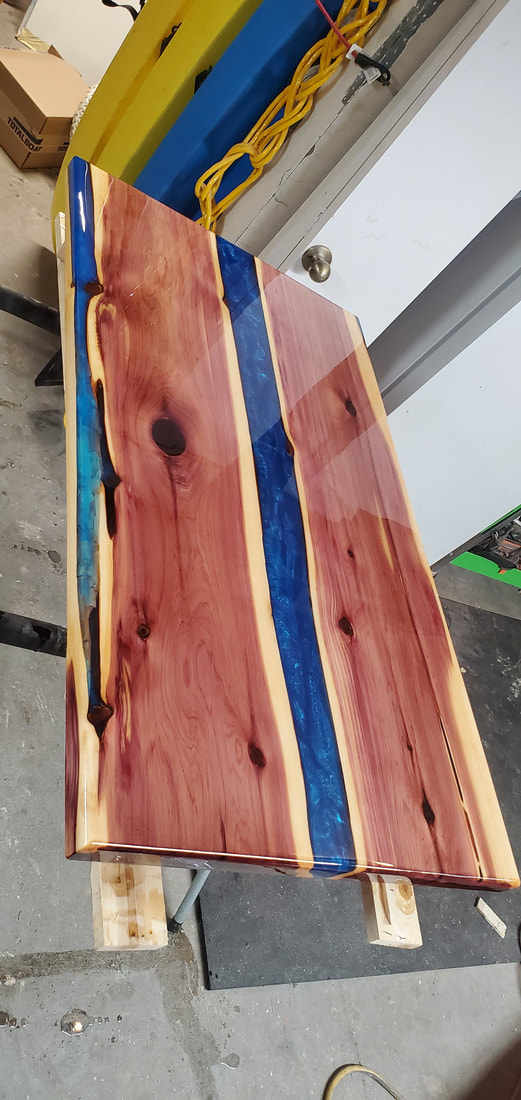 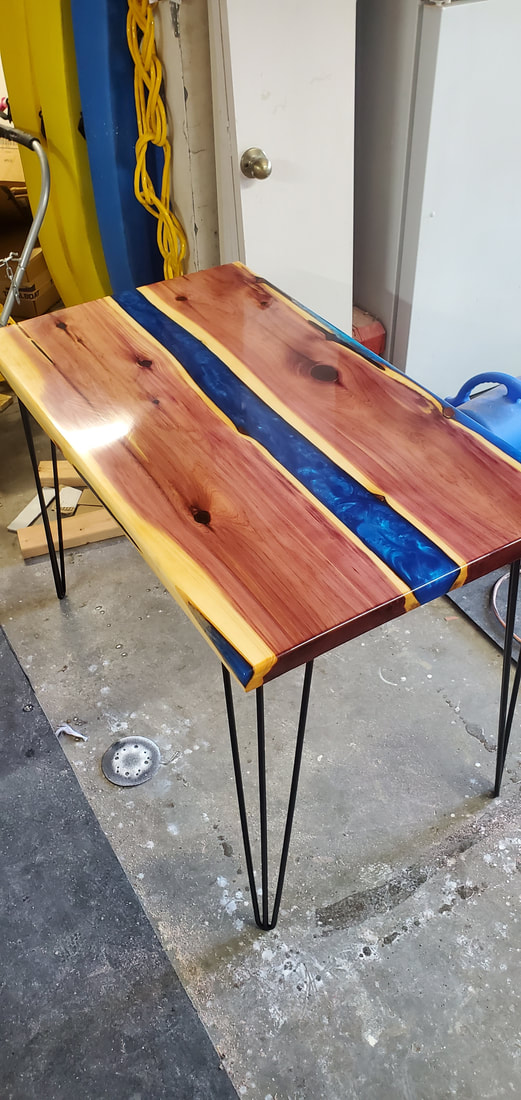 Along with our new wood stamp, here are a few progress pictures of our cedar river table. We de-molded it today and will get it to the router sled in the next day or two. We will have a finished product post at weeks end along with the full write up of how to do this project yourself. Thanks for checking in! -Property Reflex Have you seen all the epoxy river tables out there? Have you wanted to create one yourself? We are making a few here at Property Reflex and will be following this blog with a full write up on how to DIY this project yourself. If you would like one built and customized, feel free to contact us to get it done.
STAY TUNED! When you think about DIY, do you think of a little project here and there? Not our friend, Eddie, a full time pharmacist at a local children's hospital using his "spare" time to DIY his entire HOUSE! A brand new build that we have had the pleasure of being part of the last couple months. Eddie works tirelessly day and night getting his new house done, and saving tons of money by taking on major aspects of this build on his own! We cannot wait to see this place finished! This house is being built using 0 wood outside of forms and virtually 0 waste. There has not been a dumpster on this site since day 1, nor will there ever be. FANTASTIC work, Eddie. Tell us all about it in the comments.  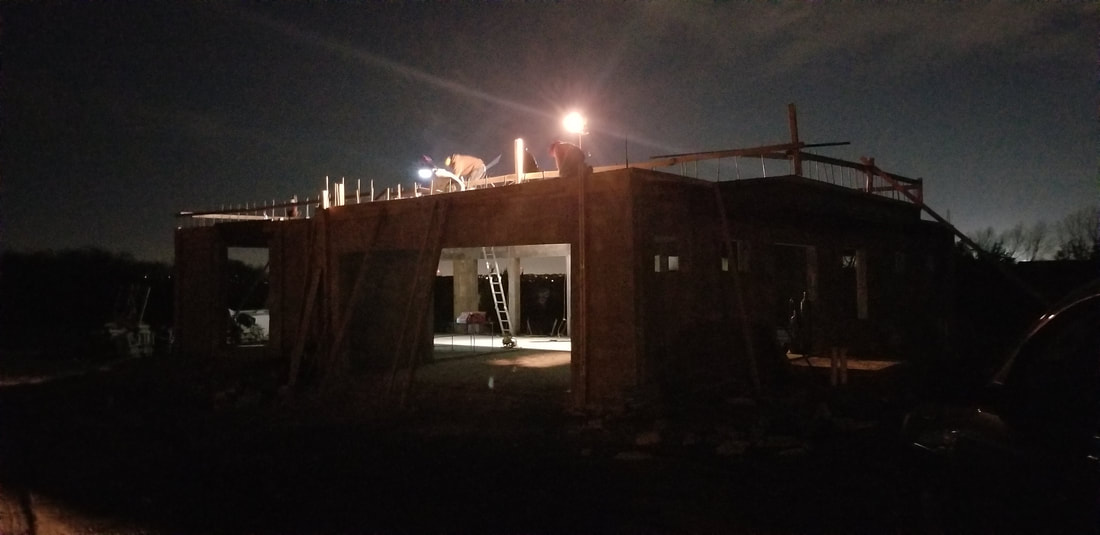 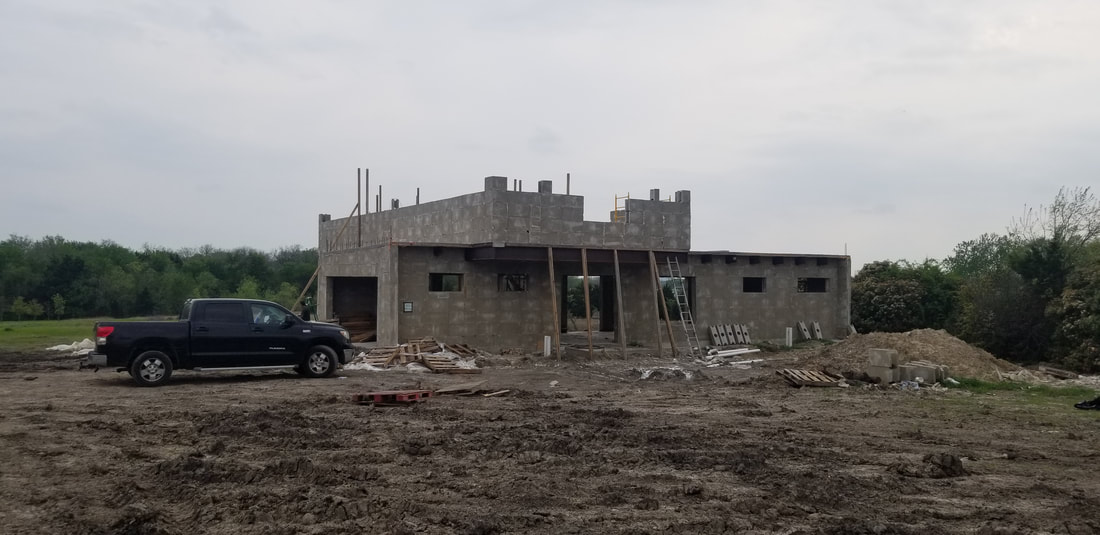 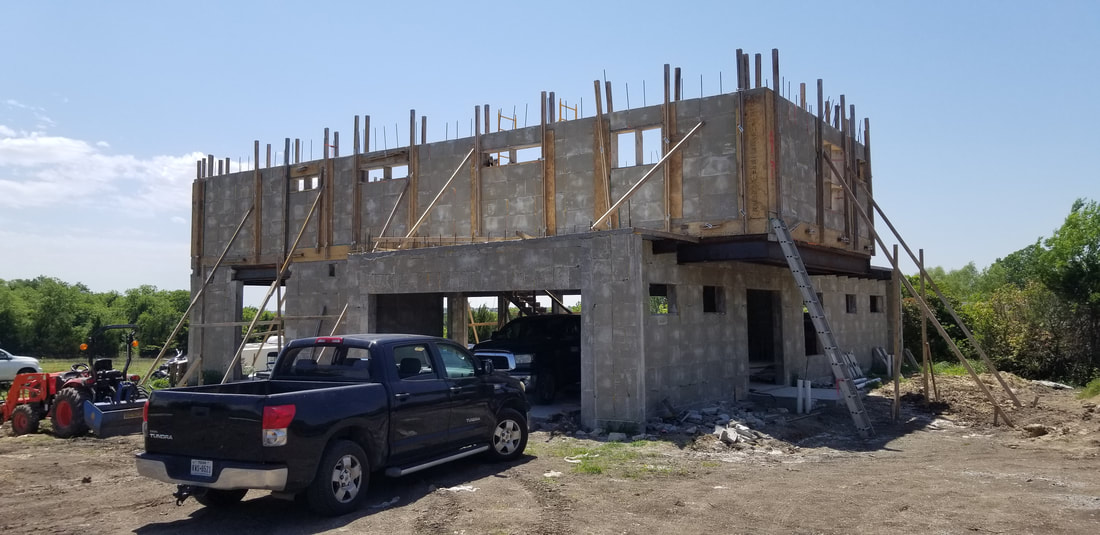 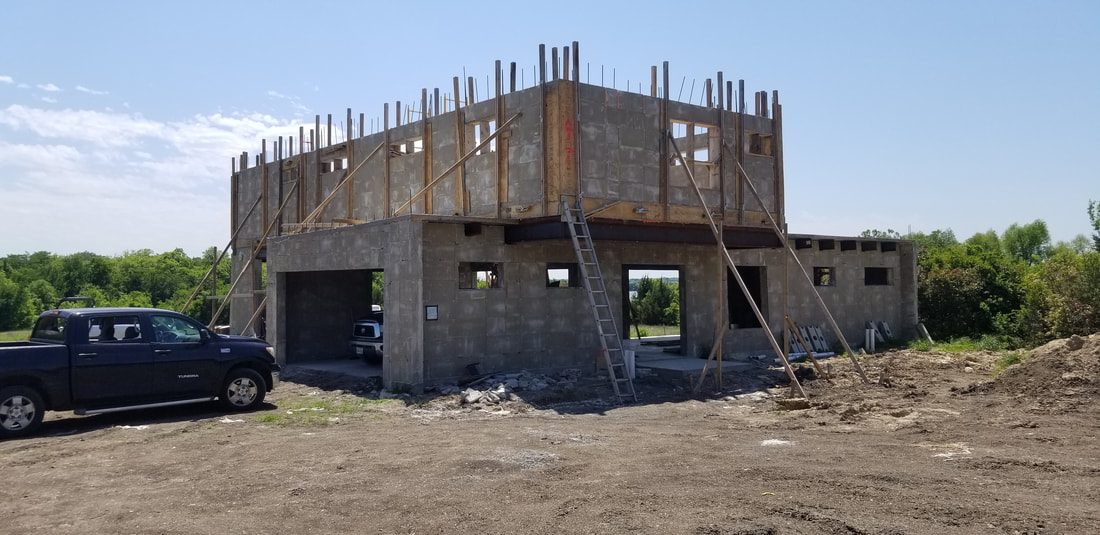 We here at Property Reflex LOVE tools. Tell us about your tools. What tools have you bought, made, and liked? What have you built? What DIY project were you able to accomplish? I have several DeWalt tools, they haven't let me down over the years. I tend to like all tools and try out different brands as needed for various projects. What is your tool of preference? Click on the comments link and tell us all about it!  |


